Despite the gloom, our children need a great rejuvenation from the current pandemic. It is time to think about all the things to do indoors with children this Diwali.

By Payal Sagar
Here comes November and the festival of lights that illuminates the earth as well as the skies and ushers joy. Diwali is a festival when the whole of India transcends into a land of myriad lamps. This year, Diwali is going to be sombre, the mood is a tad upbeat, but the pandemic still sets the agenda and though the markets are alive, the festive buzz is missing.
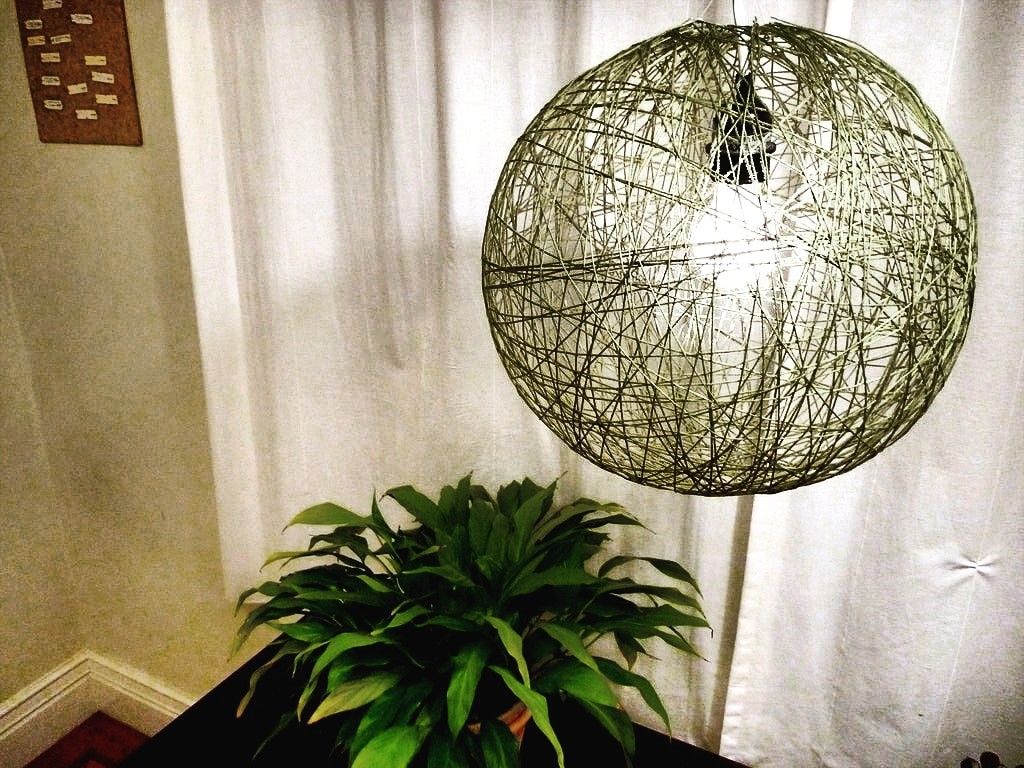
Despite the gloom, our children need a great rejuvenation from the current pandemic. It is time to think about all the things to do indoors with children this Diwali. This year has brought most of us more time at home than we could ever have dreamed of. There’s never been a better time to get some Diwali DIY done. So, here is an exciting DIY, making homemade Wrapped Balloon Lamps with your children at home to make this time of the year absolute fun.

Materials needed:
Fabric stiffener
Large spherical party balloons
Crochet thread or thin cotton yarn
Lamp cord set
Rubber gloves
Newspaper
Inflate the balloon
Once you’ve inflated the balloon, tie a slip-knot at the end of it (the balloon will need to be opened again later). Then, secure one end of the crochet thread to the knot on the balloon by either loosely tying it or taping it into place.

Saturate thread with fabric stiffener
The fabric stiffener is what keeps the thread in the shape of a sphere once the balloon is popped, so it’s pretty important. To really coat the thread well, we found that you need to allot around an entire 16 oz. bottle of fabric stiffener per lamp globe. You can either pre-soak the thread and then wind the balloon with wet thread, which will ensure that every piece of thread is properly saturated with stiffener. Or, if you are afraid of making a mess, you can wrap the balloon with dry thread, and then dredge/brush the balloon in the stiffener once it has been wrapped. If you choose to go the clean way, just really try to soak the thread well and make sure that you’ve got enough fabric stiffener to thoroughly coat the whole balloon.
Wrap the thread around the balloon
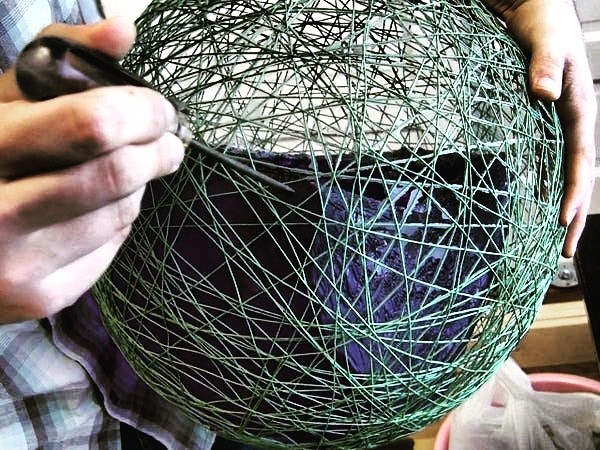
Wrap the balloon with the saturated thread, trying to keep good tension the whole time. You want the thread to make loops around the largest circumference on the balloon as possible. Once you’ve worked in one area a bit, move on to another. You’re trying to get an even covering of string around the balloon.

Over-inflate the balloon
Once the balloon has been completely wrapped with as much thread as you like, take out the slip-knot that you previously tied and blow the balloon up as much as you can. The balloon has a tendency to shrink as the fabric stiffener dries, so we want to fill it up as much as possible to keep things from getting wrinkled and sagging over the 24-hour drying process.
Drying
Dry the wrapped balloon for 24 hours in a temperature-stable environment.

Remove the balloon
Once the fabric stiffener is dry, remove the balloon from inside the string prison. First, pop the balloon with a pin. It will naturally start to shrink away from the string. If not, you’ve got to start poking at it with a long object.
Cut the strings around the top that are holding it in place and pull it out.
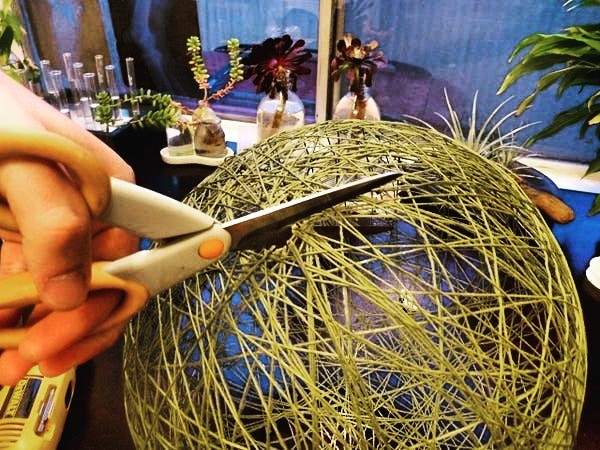
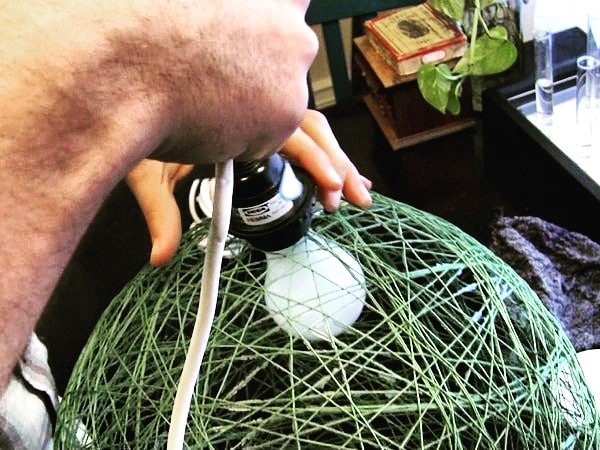
Cut a hole at the top of the globe with scissors so that there’s enough space to insert the bulb and the light fixture.
(The writer is an artist and Life Purpose Coach.)
Source: Read Full Article
